
The one and the only way that you’re going to be able to increase the perceived loudness of your track is by reducing its overall dynamic range. This means that the difference between the loudest elements and quietest elements needs to be reduced.
Throughout this guide, you’ll notice that reducing dynamic range is done in stages. If you try to apply a huge amount of compression/limiting while mastering, you’re going to end up distorting your track before reaching the level of loudness that you’re trying to achieve. Loudness is prepared for during the mixing process and executed during the mastering process. Listen to what you can (realistically) expect from mastering here.
Disclaimer: Many streaming services normalize and compress audio based on LUFS levels, which essentially removes the need to achieve loudness, but many of my clients still want their music loud, so this is how you do it!
1. Set "Tight" Track Levels
If you’ve ever read textbooks on mixing, they tell you that dynamics are great and that some elements in your song should be quiet, while others should be loud. With EDM, this holds true, but to a much finer degree than you may think. You want main elements such as your lead synths to be louder than less prominent elements, but only slightly. The challenge here is getting the elements of your song to do this while remaining incredibly close in level.
It’s easy to tell if one sound is 9dB louder than another sound, but it’s much more difficult to tell if a sound is 0.5dB louder than another sound. A big reason most beginners aren’t able to get their mixes as loud as the professionals is because they can’t hear differences in perceived loudness the way that professionals can. This skill is developed over time with practice. The closer your song elements are in level with one another, the smaller the dynamic range of your song will be. The result is a mix that’s perceived as loud.
Now that the wheels in your head are spinning, you're probably thinking you can just set all your levels using a meter. I don't recommend this because of something called Fletcher-Munson curves. The way we perceive sound is non-linear across the frequency spectrum and different dB levels. There's actually a range right between 2000-5000Hz that humans perceive as louder than other frequency ranges. Listening to a sine wave playing a bass note around 40Hz at -9dB will sound like it's much quieter than a sine wave playing around 3000Hz at -9dB. There's a trick to work around this if you aren't comfortable mixing by ear yet. You can use pink noise as an auditory reference guide, meaning you don't need to rely on a meter. Find out how to quickly and easily set your track levels using pink noise here.
2. Track Processing - Compression
This is more for if you're working with raw recordings, as samples you download from Splice are already quite processed. Before getting your tracks to sound good relative to one another, it's important that they hold their own. This means that if you want your lead to sound thick and fat, it should sound thick and fat before you start applying group, or master processing. There are some cases where you can bend this rule, such as if your lead sound is comprised of layers, etc. Controlling the dynamics of individual tracks needs to happen before controlling the dynamics of groups. The Pro Audio Files has a great tutorial on compression if you're new to the concept.
3. Group Processing - Glue Compression
Once you’ve set all your individual track levels, you’re going to want to tighten up the dynamic range of your groups using glue compression. The goal is to compress similar elements together in order to make them feel apart of the same space.
Generally, when applying glue compression, you want a long attack (30ms) to allow transients through; a short release (0.1ms) to avoid the pumping sound of compression and around 2dB of gain reduction. If these settings don’t work for you, adjust them until you’re happy with the results.
ADSR has a great tutorial on glue compression using The Glue that you can watch below. If you’re using Ableton, the stock Glue Compressor is amazing and I use it in almost all of my mixes.
4. Group Processing - Limiting
Limiters aren’t something reserved specifically for mastering. They can also help you control the dynamics of your groups. If there are rogue transients slipping through your glue compressor, you can use a limiter to keep them in check. You’re not trying to make your groups loud with this limiter and you don’t want it applying constant limiting. You just want the limiter to activate and reduce any infrequent transients that occur, as a result of elements in your group summing together.
The plug-in I recommend for this is the bx_limiter by Plugin Alliance. It’s made specifically for limiting individual tracks, as well as groups. I like it because it allows you to apply limiting without makeup gain.
5. Group Processing - Parallel Compression
Once you’ve got to this point, your mix should sound pretty tight as it is. However, I’ve got one more trick up my sleeve before moving on to mastering. Parallel compression is when you create a duplicate of a sound, apply heavy compression to the duplicate, and mix it back into the dry/unaffected sound. This fills in the troughs in your audio waveform, making quieter elements appear louder. To learn more about parallel compression and how to set it up, click here.
6. Master Processing - Serial Compression and Limiting
If your track doesn’t sound “tight” and “together” at this point, go back to your mix and sort those issues out. What you’re about to do now is apply processing that gets your song ready for commercial distribution. Keep in mind that mastering isn’t magic. As a general rule of thumb, don’t move onto mastering your track until you’re completely satisfied with your mix. Being satisfied with your mix means you would feel good about releasing it with just a limiter on the master buss.
To squeak out these last couple dBs of loudness, you’ll need to apply fast compression to your transients (to keep them controlled), followed by a glue compressor (to pull together the mix), and finally a limiter (to maximize loudness). Try to avoid applying more than 2dB of gain reduction with either of the compressors. You’ll also find that since your track has already had its dynamic range reduced in stages, you won’t need to limit it that hard to get it to sound how you want. For catching transients, the FabFilter Pro-C 2 does a great job. It’s incredibly responsive and is perfect for this application.
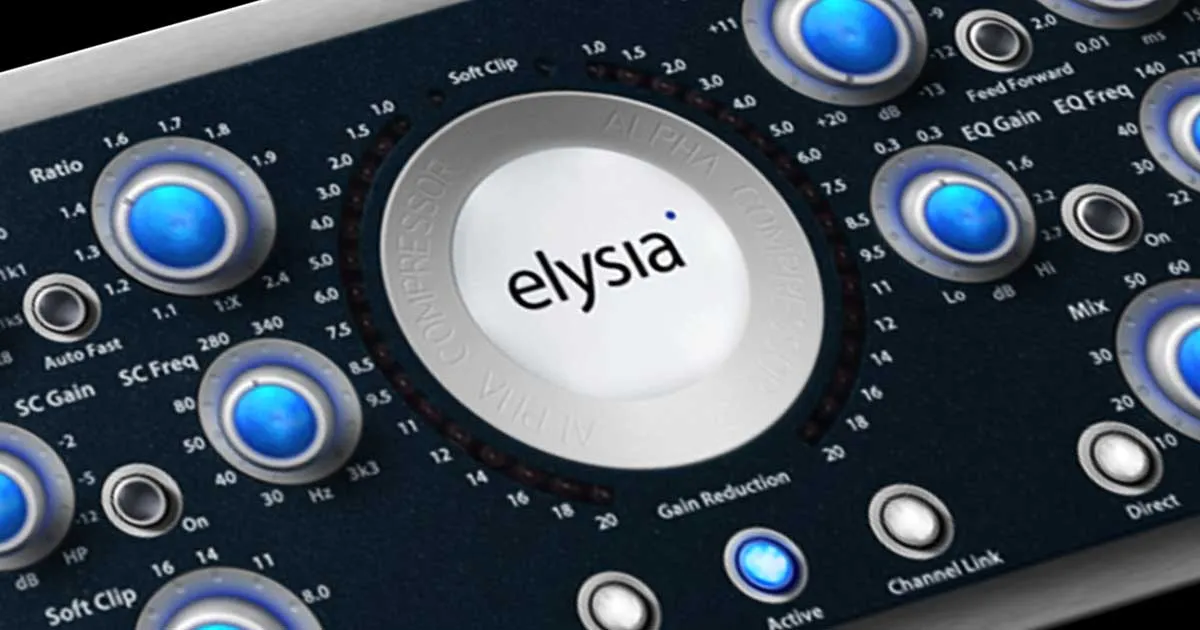
In addition to The Glue, I also like using the Elysia Alpha Compressor by Plugin Alliance on my master buss. It has a mid-side compression mode that has come in handy more times than I can count. For limiting your master buss, I highly recommend the FabFilter Pro-L 2. It can take a real punishing before distorting your track.
7. Master Processing - Oxford Inflator
This is the secret weapon of loudness maximization. The Oxford Inflator by Sonnox doesn’t apply compression, yet it still increases perceived loudness. You can actually apply it after your final limiter because it allows you to increase the perceived loudness without increasing gain. If you want to understand exactly how it works, you can read about it here. For most of you who probably don’t care, but just want your music loud, you can download the Oxford Inflator V3 here.
It’s worth noting that the majority of people don’t actually like super compressed music. It’s not uncommon that I’ll have a client ask me to mix a song like “[Insert big EDM artist here]”, I give it back to them and they realize that they’ve completely lost all the dynamics in their track (which is exactly what they’ve asked for). The extra time it takes for me to go back into the mix, undo this type of processing and send it back to them usually pays itself off in the long-run when I end up doing more work for them.
The reason people want their music loud is that their favorite artists all make their music loud. What they fail to take into consideration is that they may actually prefer more dynamic music. Compression is an unnatural phenomenon that results in an unnatural sound. It makes listening to music on mobile devices in noisy environments much easier. In quiet, controlled environments, you’ll probably prefer more dynamic music. Keep in mind the context in which your music will be played and mix accordingly!
In the following video, I explain how loud to master songs for streaming services and online music stores like YouTube, Spotify, TIDAL, and iTunes using an LUFS meter. Loudness is measurable and hitting loudness targets is a breeze.
Want to produce radio-quality songs? Check out Black Ghost Audio's Music Production for Beginners video course. Produce three songs from start to finish and learn the skills you need to write, record, mix, and master music at home. No experience required. Click here to learn more and produce your first song in under an hour.